Proper chain adjustment is one of the most basic aspects of bike maintenance yet many riders neglect it. If you get a flat tyre or break a lever you can still ride home but a broken or derailed chain is game over unless you carry a chain breaker and spare links. It’s not hard to properly adjust your dirt bike chain, and it takes no time at all. Here is the best way to go about it.
Step 1: Cracking it
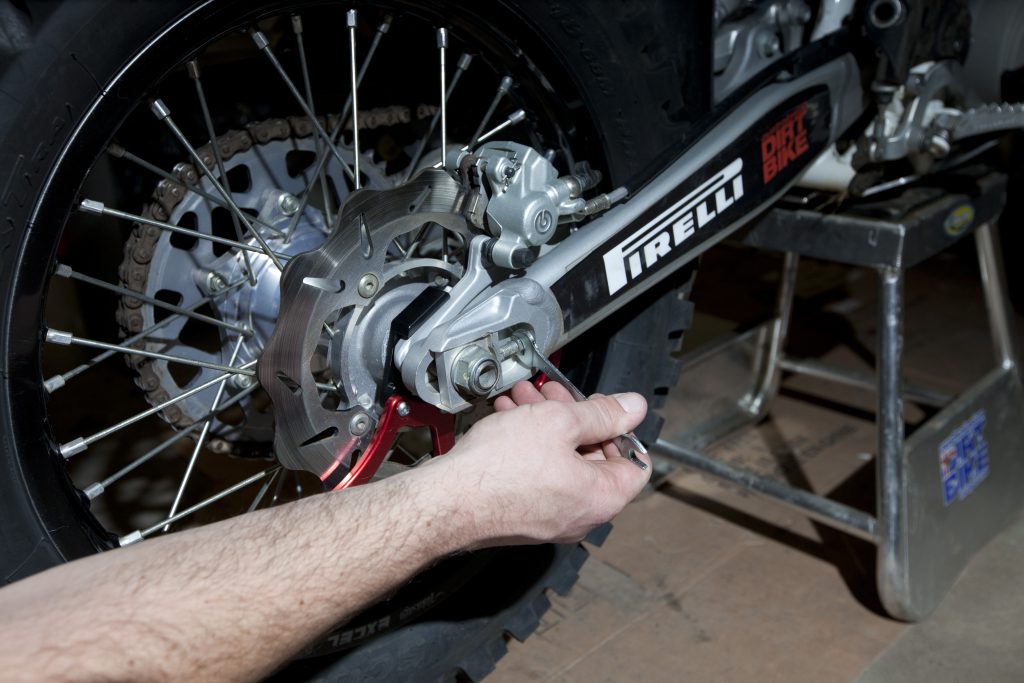
A properly torqued axle nut will take some shifting, so a quality ring spanner, or ratchet and socket are required. It is easier to crack the axle nut with the wheel on the ground. Be careful not to round the edges of the nut if the spanner slips off. Once the nut is cracked, loosen the it further by one full rotation.
Step 2: Checking the tension
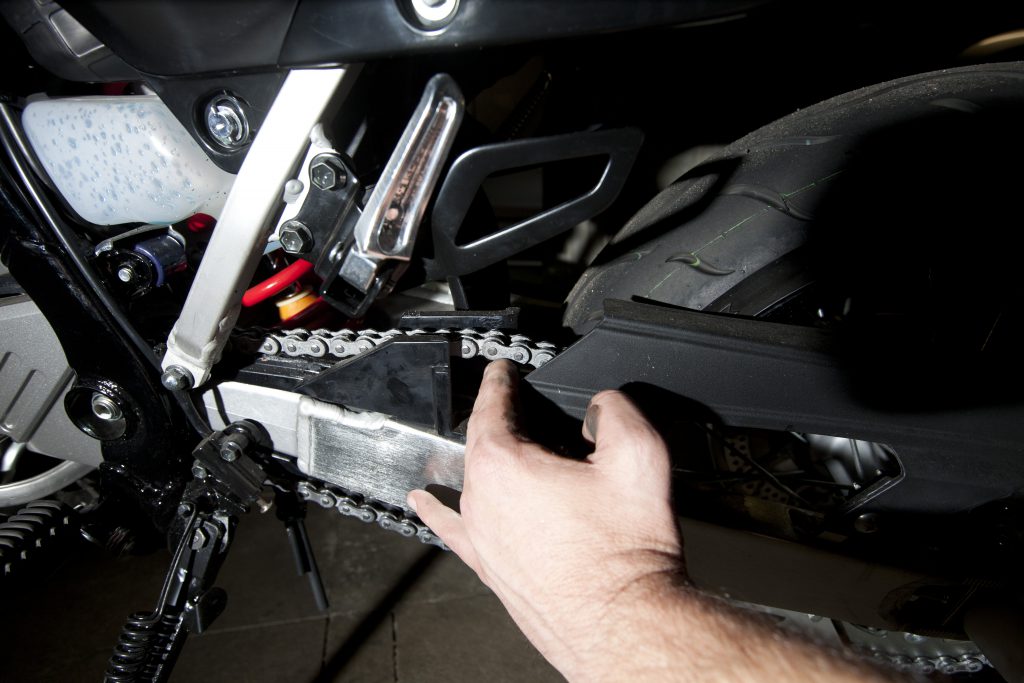
Using your middle three fingers, measure the slack in the chain from the middle of the swingarm. The distance between the swingarm and the bottom of a dirt bike chain should be the distance between your three fingers. Sometimes it is a good idea to mark up the chain height on the frame rail.

Step 3: Make the adjustment
With your fingers between the chain and the swingarm adjust each chain tension bolt. It is crucial to match the increments on both axle blocks from the front of the block. Make sure the axle block is pressed up against the tension bolt when you are measuring the increments.

Step 4: Double Check
Measure the increments on the axle block once and check them three times making sure they are both in the same position on the swingarm. If the tension bolts are different lengths out from the swingarm, the dirt bike chain and sprocket will wear unevenly and twice as fast.

Step 5: Nip it up
With the axle blocks at the same increments, tighten the axle nut. Sitting behind the rear wheel, push the tyre up against the axle block and tighten the nut. Once the axle is done up tight, double-check the increments on the axle block again.


